
Audacity is a free multi-track audio editor and recorder for Windows, Mac OS X, and Linux. It is great for voice-over recording and audio editing purposes. With the right equipment used Audacity needs very few settings changed to produce perfectly sounding audio.
Before I explain what Audacity settings you need to produce the clear voice-over audio I want to give a shout out to the amazing team who made Audacity software. They have done an incredible job making such powerful and great software available for FREE. And I encourage you to use Audacity software as it perfectly suits beginner voice-over talent.
And please do not forget to show your appreciation to the Audacity team if not right away, then at least after you start making money in voice-over using Audacity.
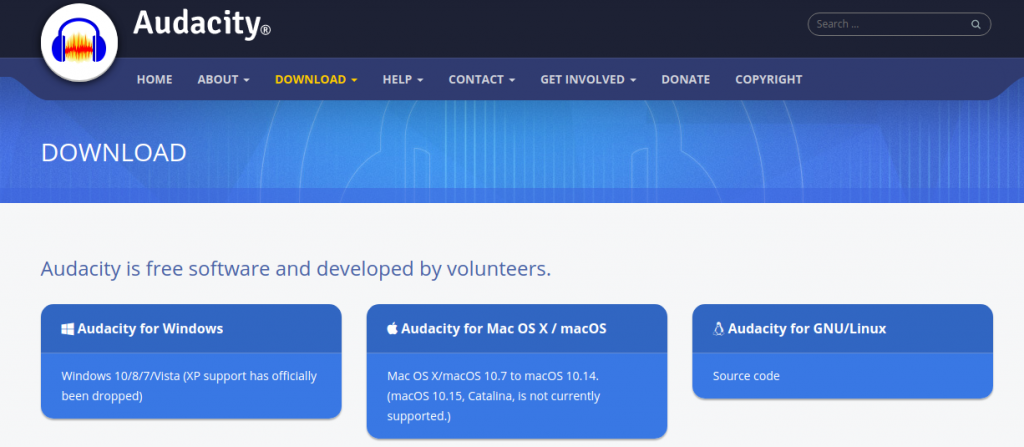
Download and install Audacity
Go to https://www.audacityteam.org/download/ to download Audacity for your operating system. After download completed install and open Audacity.
Correct setup for Voice-over recording with Audacity
As mentioned with the right equipment Audacity is ready to use out of the box. If you use quality microphone and audio interface you save your time on audio processing and fixing issues. See this article to get an idea of what is the recommended setup for voice-over from home.
The reason I am stressing out the importance of using the quality setup is to avoid wasting time and potentially downgrading your work in the future. With Audacity, you can improve your recording and fix many mistakes at the cost of time and often losing the quality of audio.
But it is really unnecessary and can be avoided if your gain level is set properly, you use the correct reading technique and the recording equipment is chosen right for the job.
Select the recording interface
Regardless of what microphone you own or use you need to properly connect it to the computer where you intend to run Audacity. Once connected select your recording microphone or audio interface.
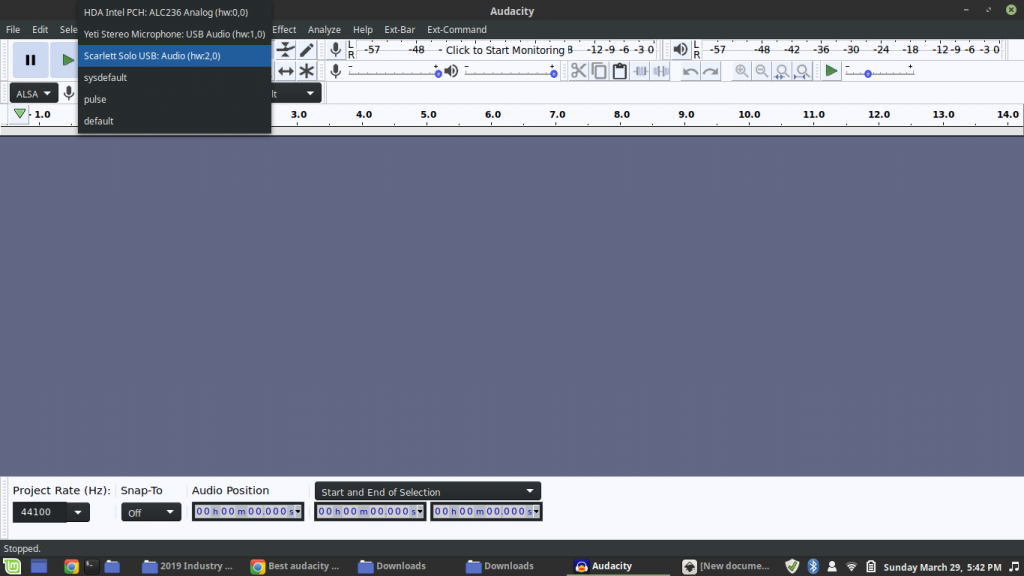
For demonstration purposes, I have connected Focusrite Scarlett Solo audio interface and Blue Yeti microphone to my laptop. Remember to select the correct device you intend to use, otherwise, no or poor sound will be recorded.
Set gain to the optimal value
On your microphone or audio interface set Gain level so your recorded voice peaks between -9 and -6 dB. Anything above -3 dB is considered clipping.
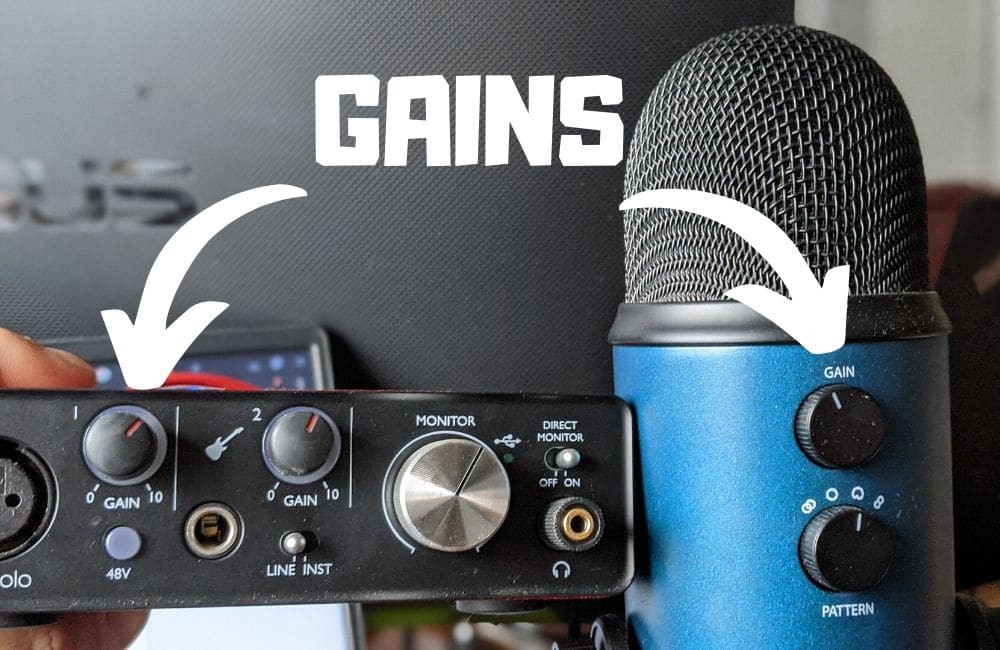
This alone is one of the most important settings that can make your audio recording experience much easier.
Because I believe it is easier to avoid a mistake than correct it, I am not going to explain in this article how to fix clipping. But I give you an extra tip.
How to avoid clipping in voice-over. How to avoid clipping without changing the gain level. If you are required to record in different pitch levels let’s say you have a whisper and screaming passages in the script you can keep the same gain level on your hardware. Use this technique, for a quieter voice move your mouse closer to the microphone, and for a louder voice move your mouse a few inches further from the mic and turn your head so you are not facing it directly. That will allow you to perform as required and not to clip or be too quiet.
Record your voice-over
When recording your voice use the instructions I am providing above and on this website. Simply try to keep the distance between mic and mouse about 6 inches. If possible monitor and maintain a waveform about the same shape and size without clipping. If you made a mistake or lost a line in a script, just re-record it and continue. Mistakes and pauses are easy to remove. At the end of the recording session stay quiet and maintain silence for 3 to 5 seconds to record a room noise. You will need this section in the next step.
Audacity voice post-processing
Once recording completed it is time to finalize the production. You can choose to listen to your audio first to make sure the overall recording is done right. It means you should have enough of a good read to cover for issues if any.
Then there are a few manipulations I usually do with recorded audio for the regular no audiobook voice-over job. And I do them in a certain order because I believe in less is more when it comes to audio processing. Less programmatical changes to audio, more authentically it sounds.
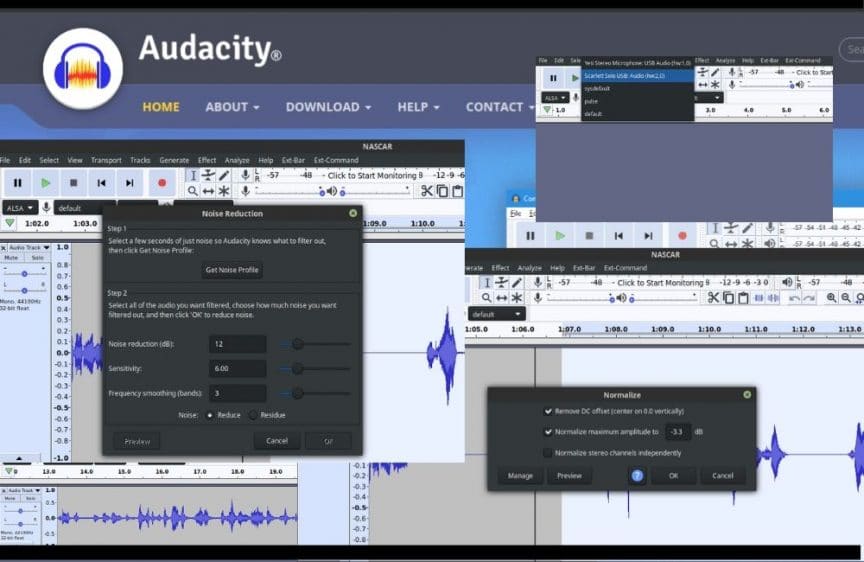
Firstly, I do Noise Reduction. That is why I recommended recording a few seconds of a room noise at the end of the recording. These few seconds serve as a baseline for the noise reduction on the track. It is important there be no smallest spike in this background noise chunk.
Select this section and click on Effect > Noise Reduction… the sub-window will open, click on Get Noise Profile. Now Audacity has your background noise pattern that includes a microphone self-noise. In the next step, it will apply on the whole track and even out similar noise distortions.
Select whole track Ctrl+A then click on Effects > Repeat Noise Reduction.
Next, I clean the recording by going from the beginning of the track to the end. Whenever needed I add space between voice and most often I remove excessive pauses.
I also remove the mistakes and replace the leftover noise like deep breathing or air gasping with about the same length of a quiet noise. Yet again repurposing that room noise from the end of the recording.
And lastly is Normalization. This effect will proportionally set the peak amplitude for your track. In simple words, it will set the highest peak to the defined level and then adjust the whole track proportionally.
To perform Normalization in Audacity select your track and click on Effect > Normalize… the sub-window will open where you select the checkbox Normalize Maximum Amplitude to. I recommend using the value close to -3 dB, -3.3 dB works fine. Then click OK.
Now your track is ready to be exported into .wav or .mp3 file and delivered to your client unless something else is requested.
Fixing errors and voice fine-tuning in Audacity
There can be scenarios when the recording level is uneven, then I apply Normalization to the portion of the track only. But most of the time post-editing is a quick and not an invasive procedure.
It is obvious that not always everything goes smooth and some errors cannot be re-recorded and need to be fixed in software.
Also, your situation may require to apply compression of the recorded track to bring quite and louder passages to the same level. This would be the topic for another article.
You can learn from my course how to improve your recording technique so you have fewer errors to deal with.